Authors: Ritik Mishra, Andrew Georgioff, Pearl Jain, Serena Jain
Introduction
Are you making a prototype? Please post updates and pics in the #blog Slack channel of what you’re working so we can make the blog more accurate!
Winners read the rules. Are you a winner?
Tunnels
To use the power cell, we need some way to get it from the active intake to the shooter. We have multiple prototypes for these two assemblies. One prototype to get the ball from the intake to the shooter is a tunnel of sorts made of polycord for the transportation of the power cell.
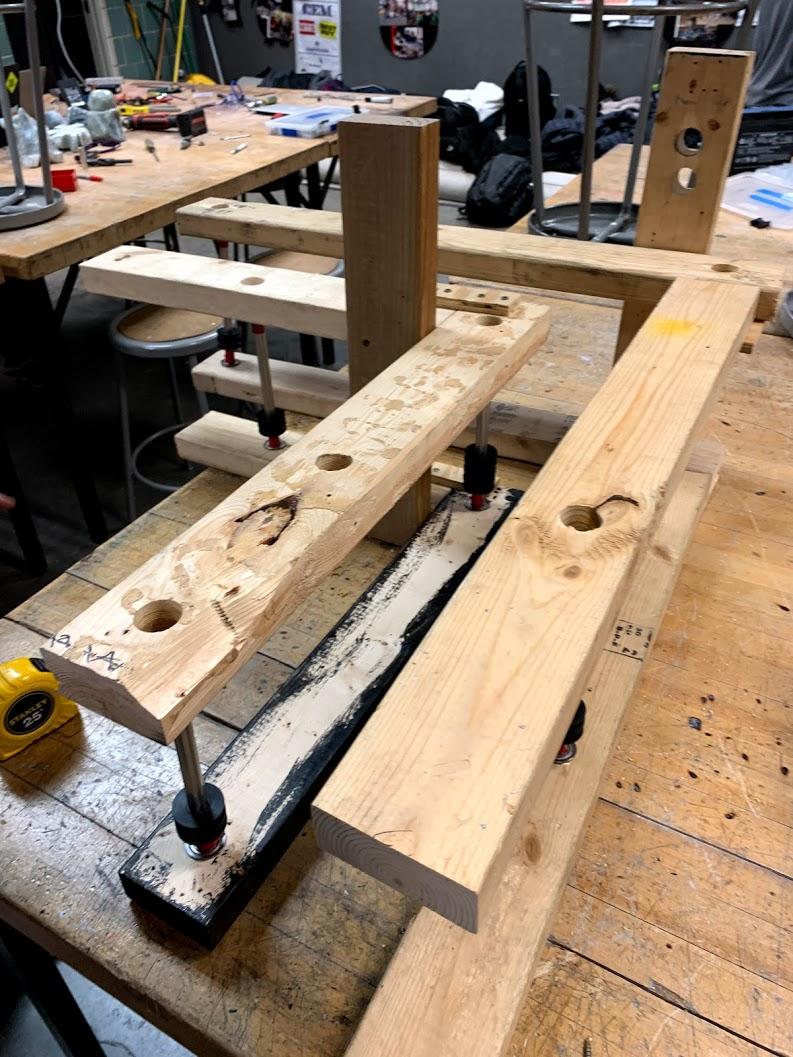
The bulk of the structure has been completed today. It will need to have polycord installed tomorrow so that it can be properly tested.
The L shape is to account for the fact that the shooter will likely be offset on the robot.
Single Flywheel
Progress on the single flywheel prototype is going forwards in accordance with the CAD design from yesterday. We were able to make the frame out of 80/20 despite some “accidental dimensions”, if you will. We were also able to cut out the bearing plates for the feeder wheels and flywheel. Tomorrow, we will complete assembly and add a motor to the shooter

Dual Flywheel
Another option for shooting the power cells up to the high goal would be a dual flywheel. Today we started prototyping a dual flywheel to see how it performs compared to the single wheel flywheel, as well as any other methods of scoring in the high goal.
We tested it with a drill and it definitely launched the ball. Next steps include wiring up a motor to the shafts with belts so that we can set the RPM’s of the wheels more precisely.
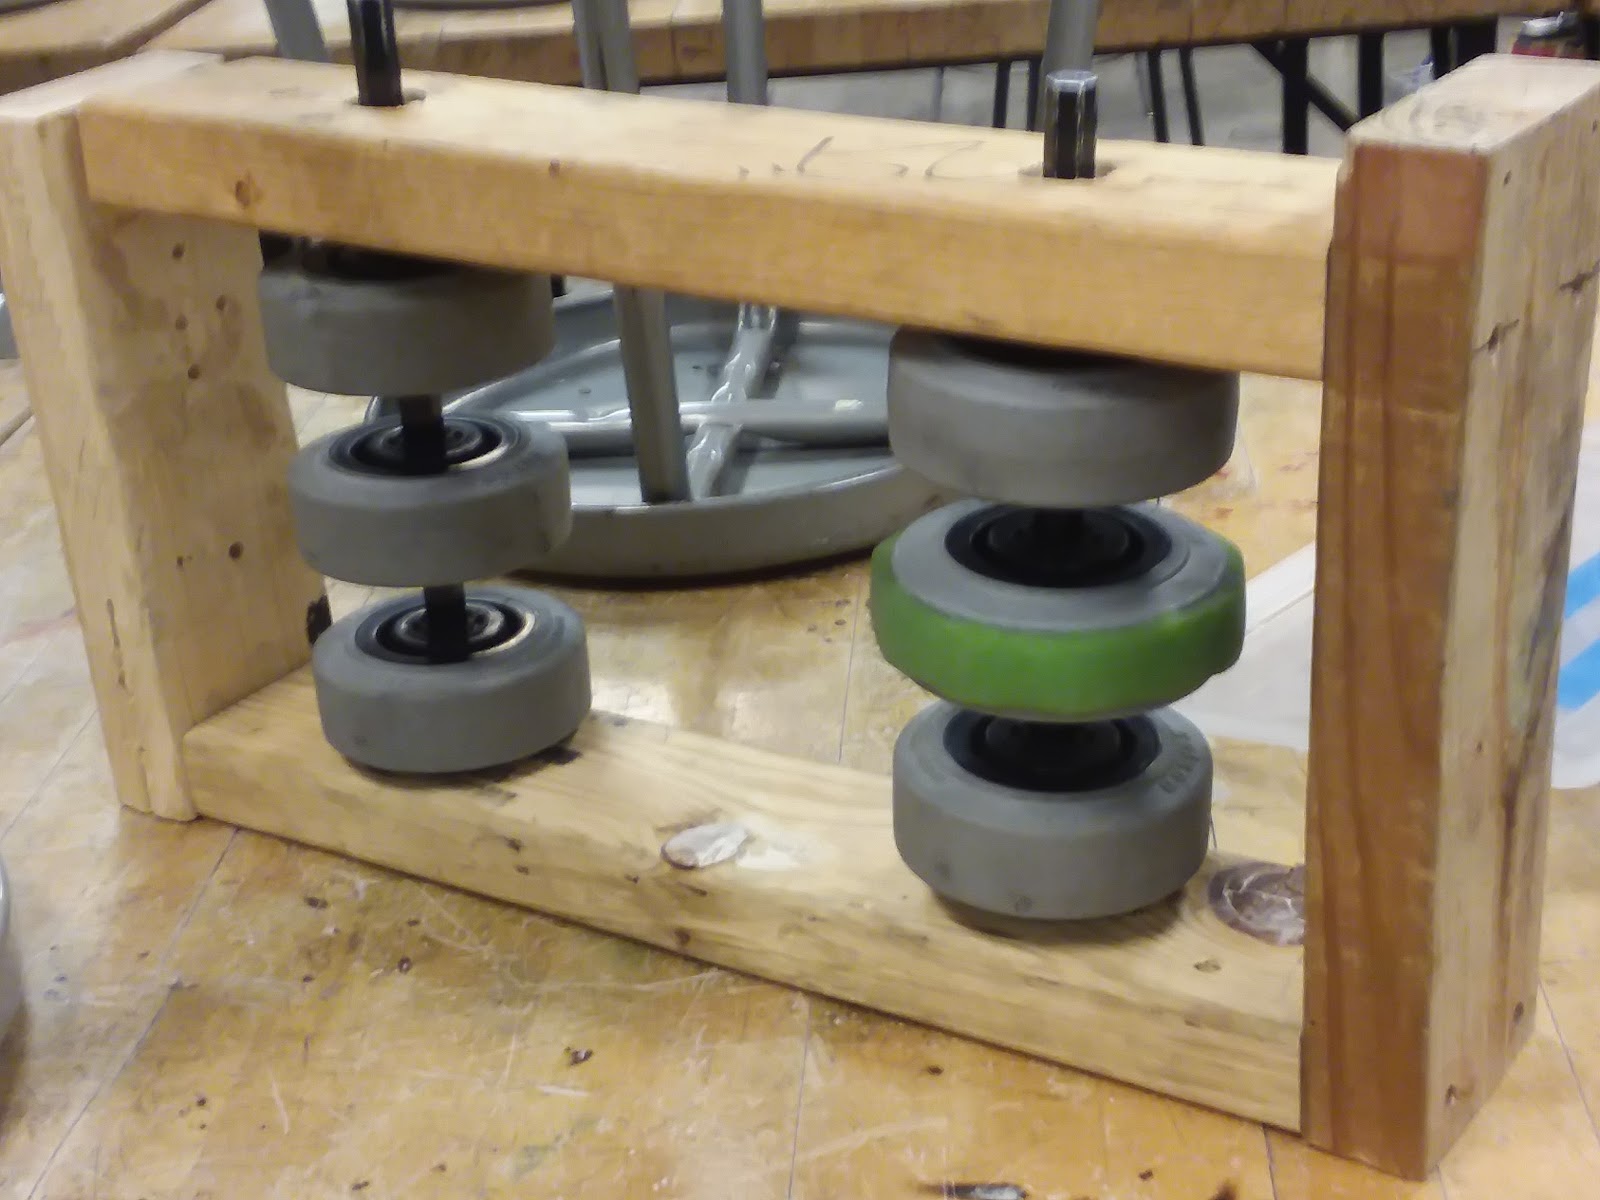
Scissor Lift
The scissor lift is for delivering a climber hook. We continued making the scissor lift today, but encountered some problems. To connect the scissor lift we had to drill holes through the bars, but as the bars were made of stainless steel, a particularly durable metal, we encountered problems. Specifically, no matter how much cutting fluid we used, the drillbit would dull, become unable to cut, and start rubbing. In fact, the drillbit rubbed so much that TWO drill bits we tried turned red hot, causing them to become useless.
We will consider switching to aluminum in the future.
Turntable
Progress on the turntable continued. The pentagon and plates were finally assembled together, then a hex hub was installed in the center of the pentagon, allowing the whole turntable to be driven by a hex shaft. We spun it by hand with a ball between two spokes, but the presence of the ball made it very difficult to spin. Surprisingly, the sliding friction between the ball and the plates was too much to overcome. We will work to solve this tomorrow.

To solve this, we did two things. First, we made the plates closer to the ground. Second, we angled them so that only the bottom corner would be pushing the ball. It worked significantly better this time.
Changes to Sgt Sammy: Encoders!
Since Sgt. Sammy has a good drivetrain (our 2018 drivetrain is probably our best so far), the programmers would like to use it for autonomous prototyping (yes! there is prototyping in software :)). However, it did not have encoders, and had a lot of extra stuff on it.
On kickoff, we removed the intake and the energy chain.
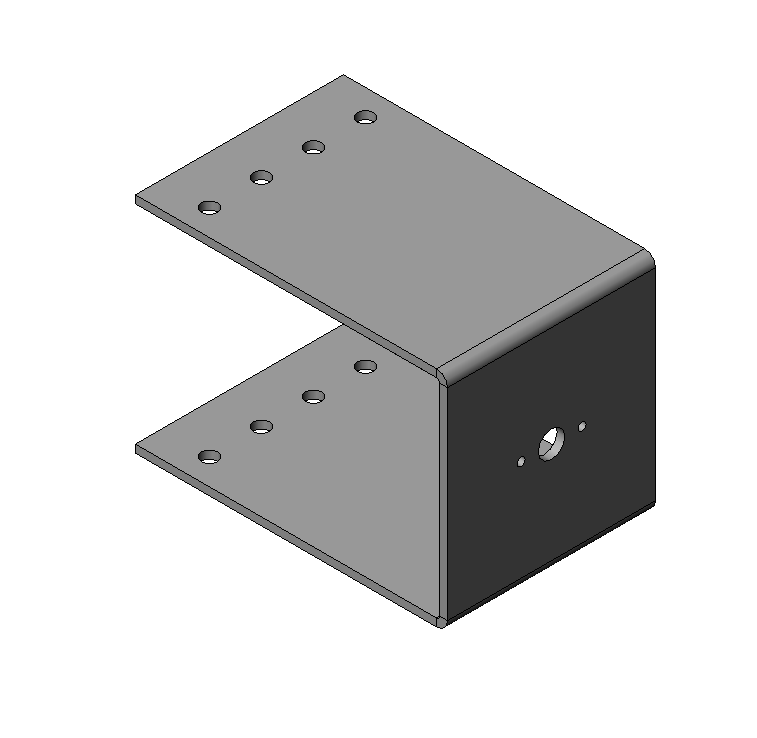
Today, we were able to remove the NEOS and Constant Force Spring from the elevator. We were also able to add an encoder to the front left wheel of the drivetrain. The encoder mount was made out of 1/8” thick polycarb bent into a C.
Side note about ScotchWeld/cyanoacrylate glue: I accidentally made the middle part of the C about .25” wider than it should have been. To fix this, I used Scotch-Weld (located in stick/unstick) to attach .125” shims to each side. It was very easy to use and cured (dried?) very quickly. 10/10 would use again
Spring Loaded Climber

Today, a hook was made to grab onto the bar. It uses blue nitrile tread to grip the bar so that the robot doesn’t slide sideways.
Also a winch (that had been laying around since a long time) and a base had been attached to the elevator. The winch worked beautifully to retract the elevator, and the springs were enough to raise it.


Wheel of fortune/Control panel
To make the Control Panel prototypes, we must first have a Control Panel. We tried to make a crude control panel out of thin plastic, but we were unable to easily cut it into a circle. We then switched to thicker plywood, which went much more smoothly.

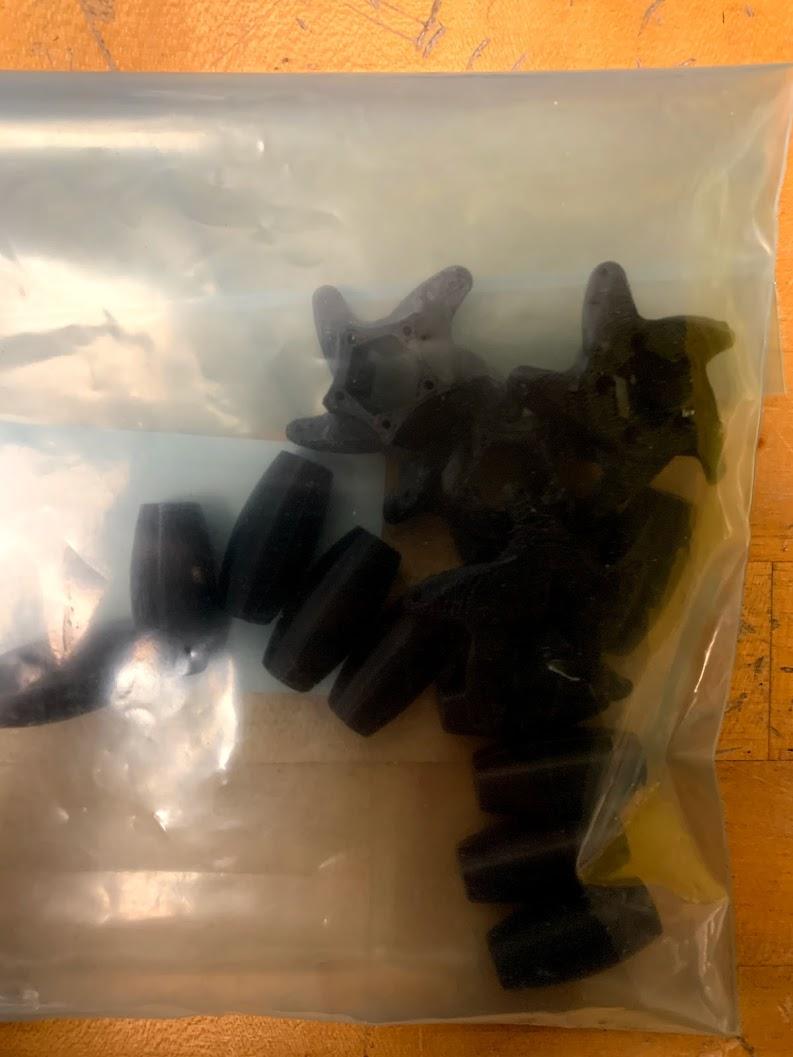
3D Printed Vectored Intake Wheels
brought to you by Stratasys
Progress on some of the intake prototypes are stalled due to a lack of appropriately sized mecanum wheels. Fortunately, FRC team 125 has designed a 3D printable mecanum wheel (2 inch diameter) that uses some metal parts from McMaster. For about 100 dollars of McMaster pins and screws, we can make 40 mecanum wheels (20 left + 20 right). For 100 dollars, you can buy 6 mecanum wheels off of WCP or 8 mecanum wheels from The Thrifty Bot (note: these ones are also 3D printed!). Basically, mecanum wheels are a scam.
The McMaster parts are coming in the mail and some 3D printed wheel parts came from Stratasys today