Authors – Grant Silewski, Ritik Mishra
Introduction
We have almost finished the practice robot! This weekend we pretty much worked on everything and got it to work. We even got our robot to drive around! More specifically, we adding chain to the drivetrain, finished putting together the butterfly, added the rotation motor to the active, finished making the carriage, finished the elevator and added most of the pulleys, and added the elevator drum/climber shaft with all of the corresponding motors to it. The only things we have left are to finish hooking up all of the motors, make a release latch on the butterfly, and replace the 3D printed parts with the steel ones that we are getting today. We are also getting Kevlar rope today, which we will be adding to the elevator so that it can run.
We will hopefully be getting all of the parts to finish both robots by the middle of the week! Thanks Eric! We now have rivets so we can put together all of our competition robot parts when we get them.

We weighed our practice robot, and it currently weighs 120.6 pounds, which is really good for this point in the year. We have it to be projected to 125 after we finish adding everything. Yes, it is over the 120 weight limit, but compared to previous years, last year in particular, we are normally at 130. There are a lot of ways to take off weight, such as drilling holes in spots of the butterfly, drilling holes in the currently solid and giant ¼” plate, and swiss cheesing a lot of the polycarbonate. We can even drill holes in the c-channel, which will save a lot of weight. We also have a few backup plans. The butterfly can revert back to 1/16 inch tubing, like how it was on the prototype. We can also take off a cim somewhere. We have lots of options. However, we should work on getting the robot finished first and make sure that it works before we start to worry about weight.

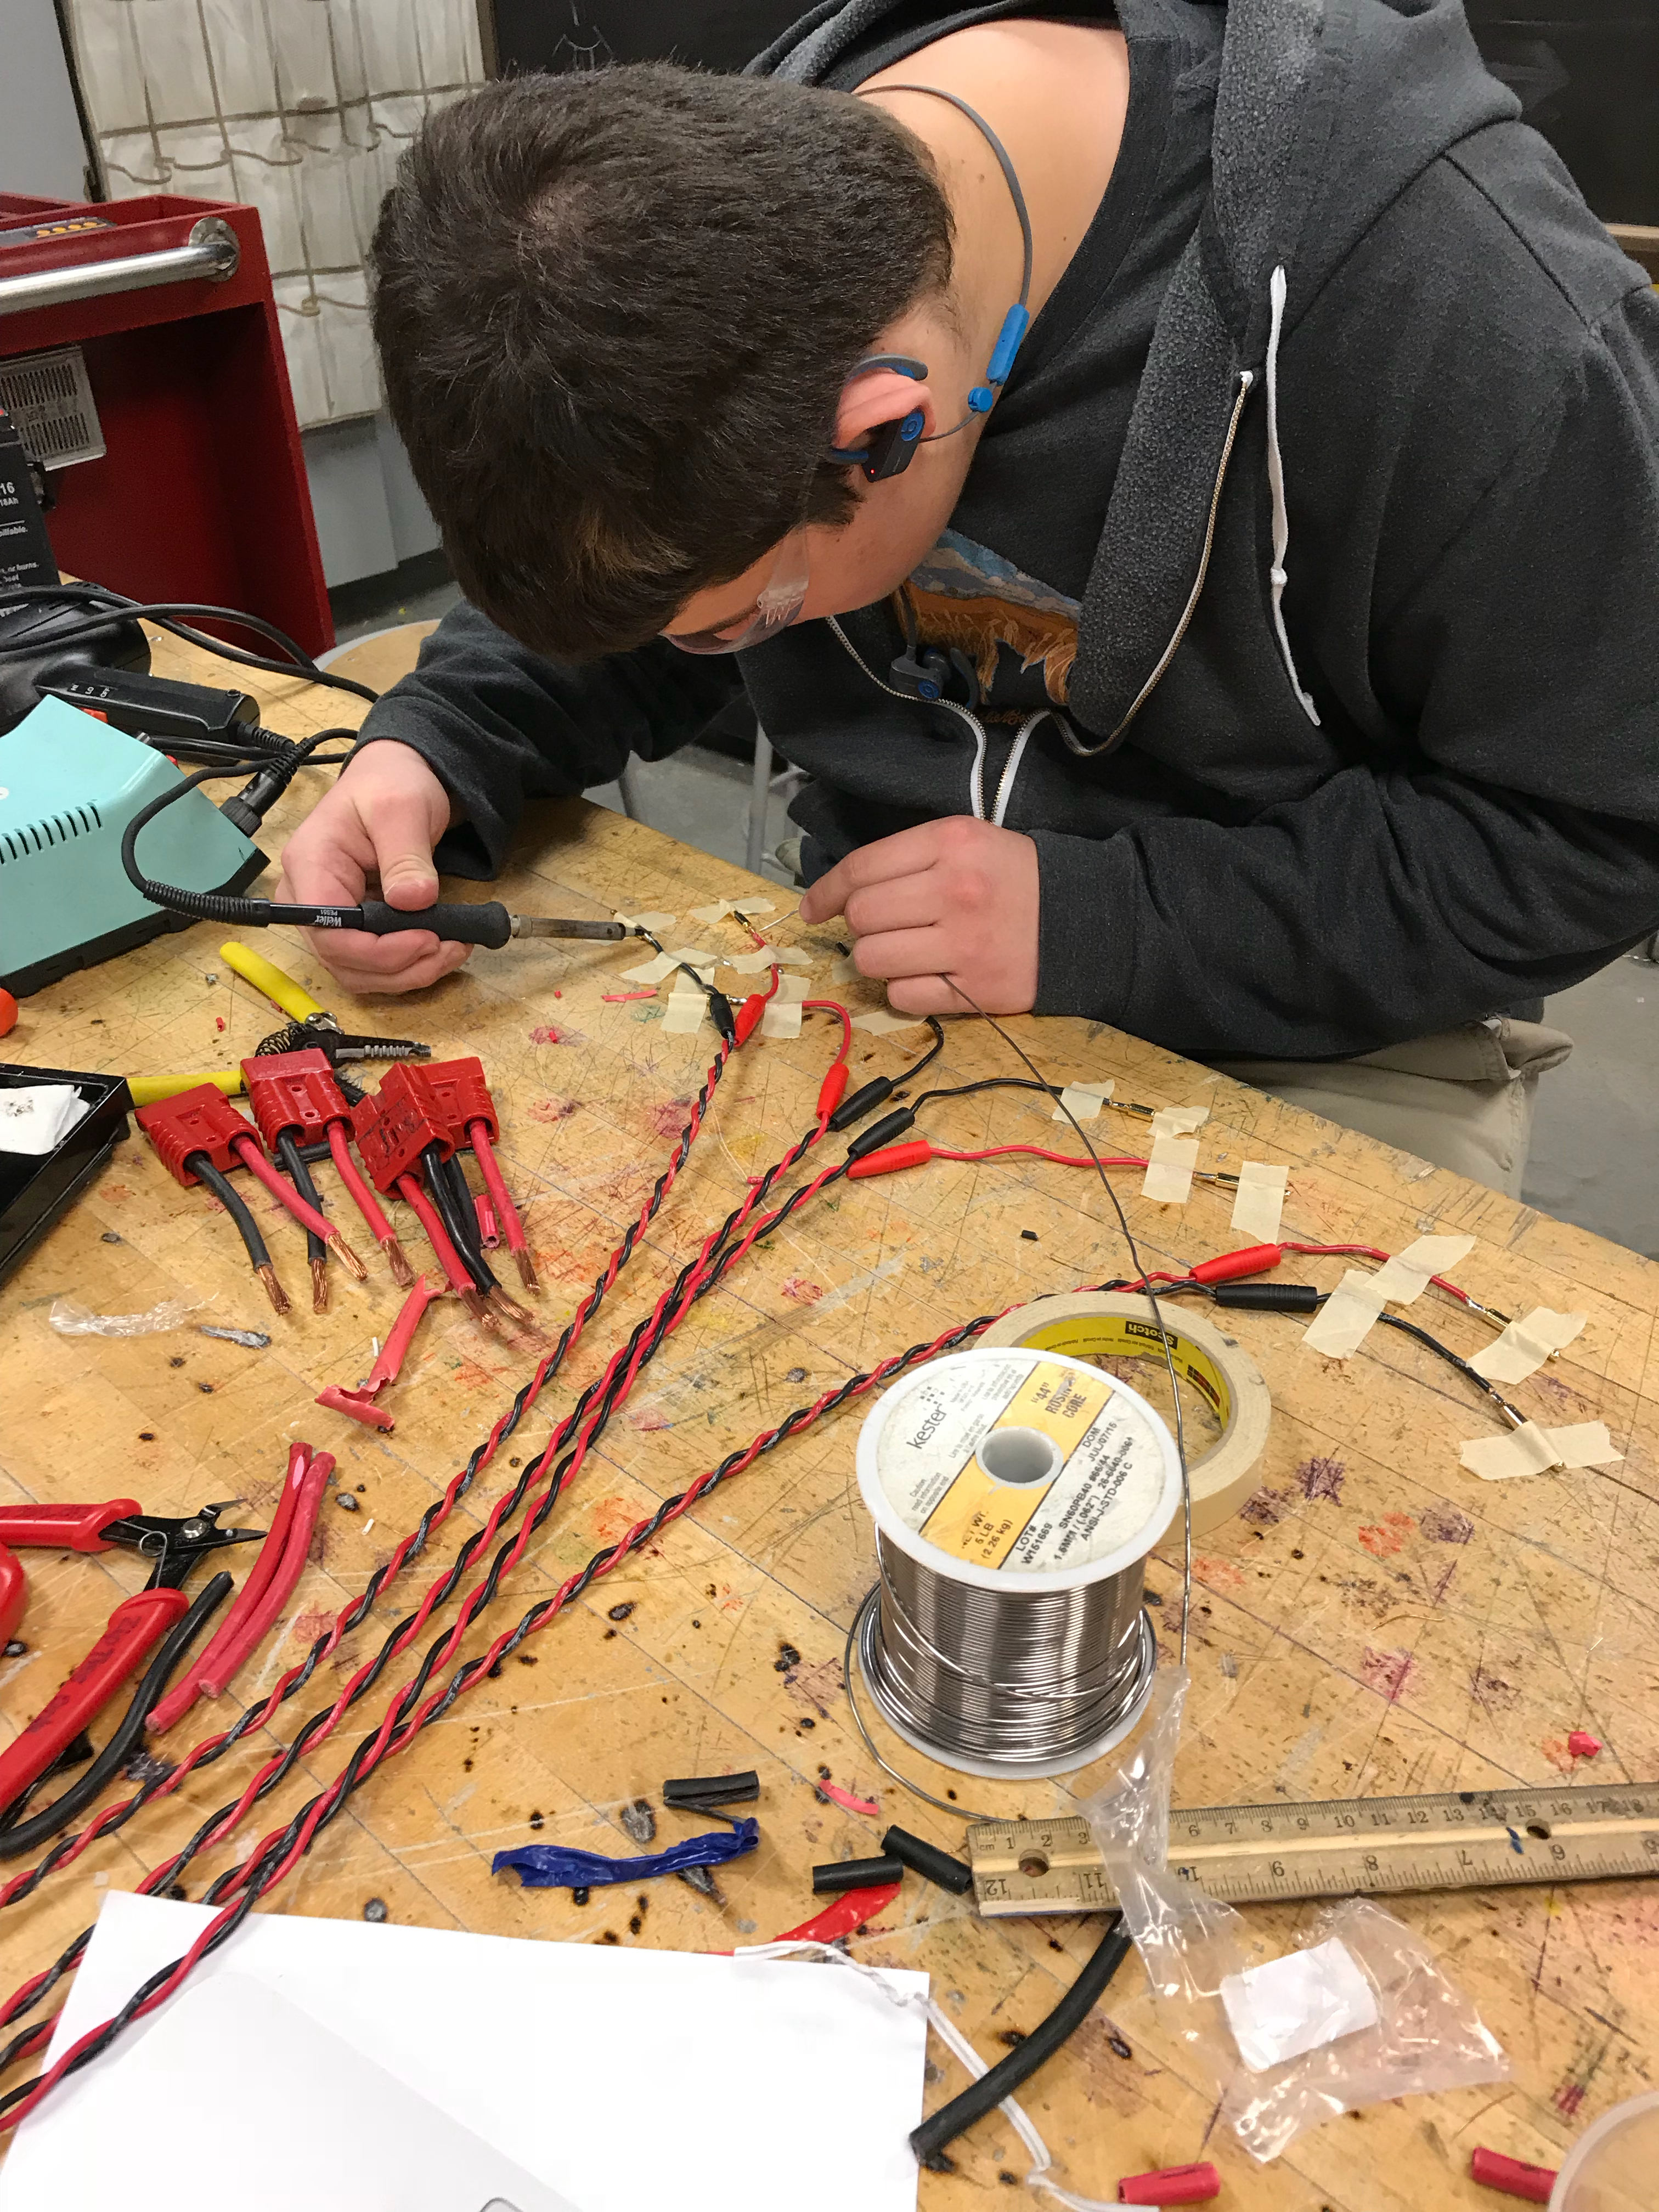
The electronics board look beautiful, which will hopefully lead to a clean looking robot. Michael also fixed our battery charger by making new leads/wires. Yay!

Elevator Assembly
We finally added this to the main robot, and it all fits together and works nicely. We initially had some issues with the bearings running into the supports, but we fixed that and now it works like how it is supposed to. However, we did put on the 3D printed parts temporarily, which we will have to switch. We also added the shaft that drives everything, which was a pain because it had to be taken apart multiple times. We also added all of the pulleys/PVC sleeves for the part that pulls down on the elevator. We still need to add two pulleys to make the upwards part of the elevator function. After that is done, we will string it, and it should be ready to go.
Active Intake
We did not do too much for this system this weekend, other than mount it to the carriage. It currently works exactly how it did on the practice robot, which is a good sign. The only part that might be different is the cylinder on the active, or more specifically the gate hinge. There seems to be a lot more movement than compared to the previous active, so there is a good chance it might not have enough force to hold the blocks. This is very easy to fix, however. The prototype was so strong, we needed to put the cylinders on the lowest working pressure in order for it to work/not hold the block too much. We will do further testing on it after we have finished the robot, because that is currently our first priority. Our other priority is hooking these systems up to the electronics board, which will hopefully be done soon.
Quote of the Day
“uhhh” — Barack Obama