Authors: Ritik Mishra, Andrew Georgioff
Bumpers
Today, the comp bot bumpers were covered with fabric. They are almost complete. The remaining tasks are to
- Cut and apply numbers (in progress)
- Make and install bottom brackets (in progress)
- Make and install top brackets (not yet started)
Also, for the first time, we are using steel for the bumper brackets. This is because we are projected to have enough weight in the 15lb bumper weight limit to do so. Also, we have a very large amount of miscellaneous steel stock on the floor under the wood shelf that will never get used for anything else.

Above: really good looking bumpers
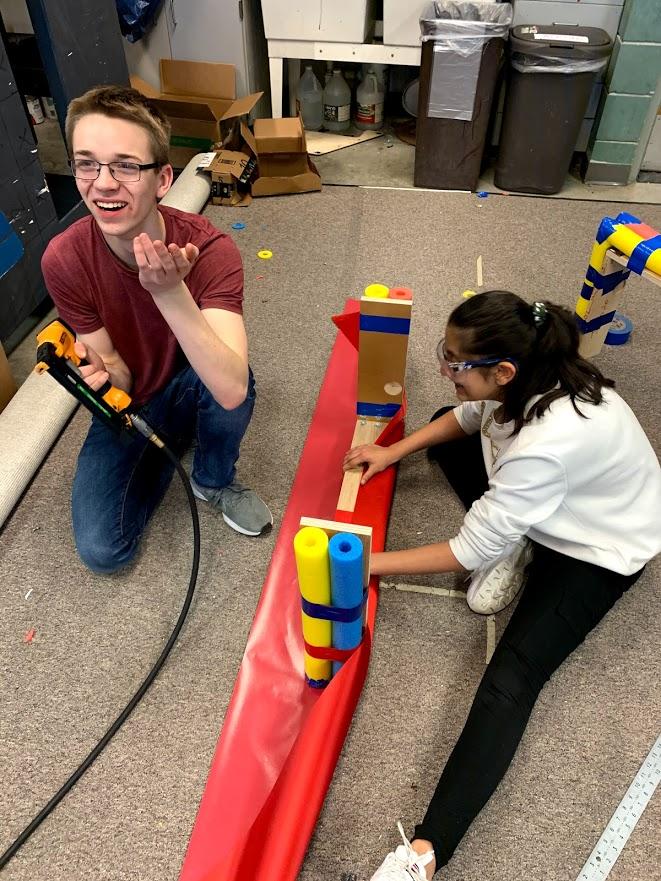
Above: Red fabric being installed onto a bumper
Design Review Meeting
Our design review committee met today. For the unacquainted, the design review committee is a group of professional engineers which occasionally meets to discuss our designs and find potential areas of improvement. This meeting was held to discuss the problems we faced at Week Zero. The following problems and solutions were discussed
- Intake
- Problem: If driving at a high speed at a ball, the ball will go under the robot instead of into the intake
- Potential Solution: Use a belt up-duction (not reduction) to spin the front roller faster
- Problem: Balls get stuck between the left airpod and the motor
- Potential Solution: Use omni/mecanum wheels to try and kick it out from that corner
- Problem: The intake needs to pivot back up but the space for it is limited
- Potential Solution: Mount a cylinder back near the shooter, and use a tie rod or similar to move the intake at a distance
- Potential Solution: Snowblower motor
- Problem: If driving at a high speed at a ball, the ball will go under the robot instead of into the intake
- Climber
- Problem: The new climber design will allow it to spring up in ~0.25 seconds, which will cause great stress to the plastic sliders
- Solution: Instead of using the 80/20 t-nut to attach them, through-bolt them instead so they don’t move around
- Problem: The new climber design will allow it to spring up in ~0.25 seconds, which will cause great stress to the plastic sliders
- Shooter
- Problem: It vibrates a little still, and the shock mounting did not help very much
- Solution: One root cause of this problem might be that the bolts on the flywheel weights are not equally tightened, which might be causing the hub to not be square to the shaft. To fix this, we should use a torque wrench to ensure that all of these bolts are equally tightened
- Problem: It vibrates a little still, and the shock mounting did not help very much
Wheel of Fortune Spinner
Recently, it was finalized in CAD. It’s basically a clone of the Snow Problem WOF spinner. Today, we made all of the required parts and began assembly.
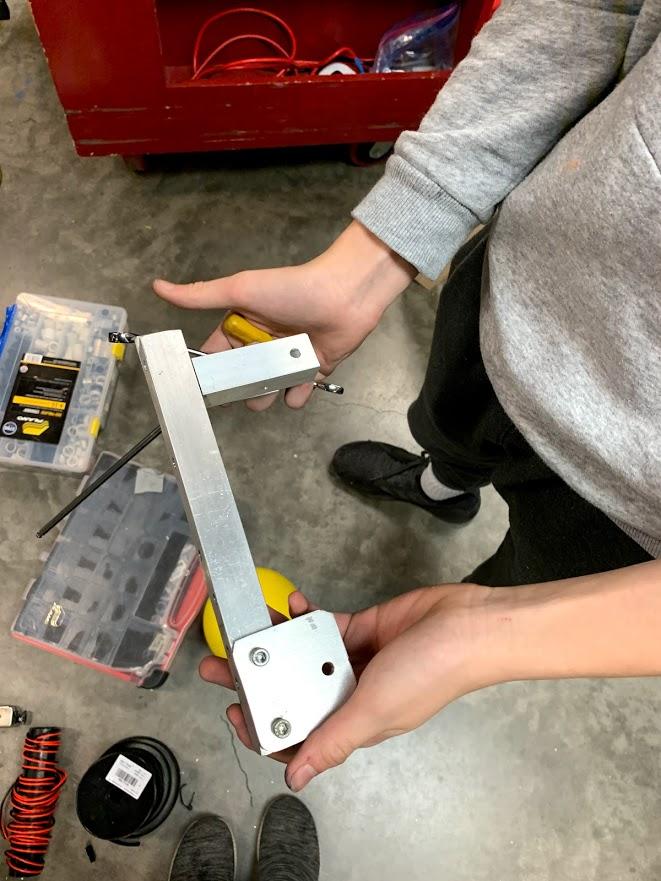
The assembly pictured above is the part that will go onto the robot. The cylinder will attach to the post on the left, and rotate another lever that pivots around the hole in the plate on the right.
Climber
As mentioned earlier, we have redesigned the climber to allow it to spring up instantly, as opposed to having to unwind for 5 seconds. This new design requires a specific spot for the rope to sit so that it doesn’t get caught in our drivetrain (or anything else) during normal match activities. This rope containment assembly was made recently, and was installed onto the practice bot.
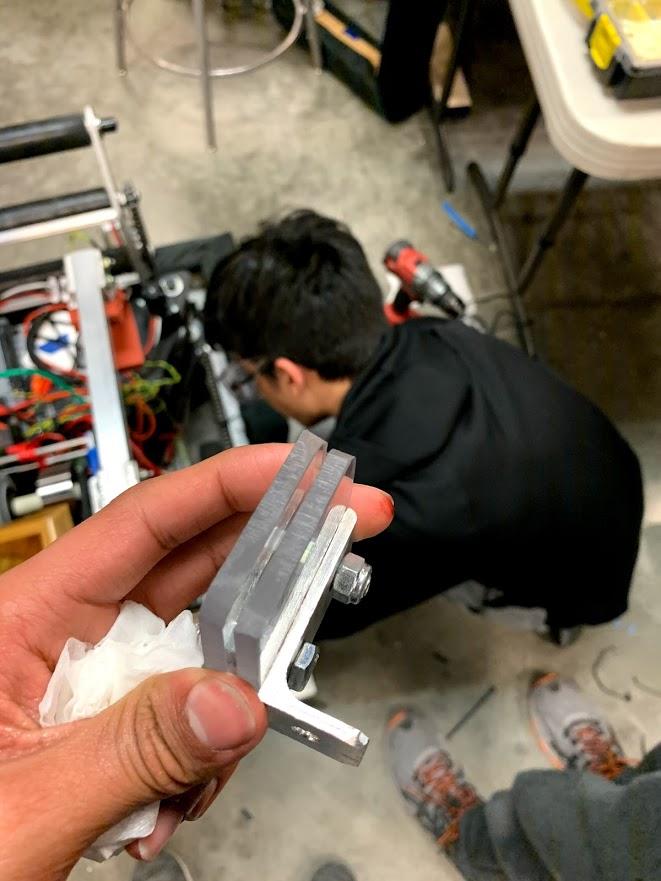
Above: The rope containment assembly. The rope is meant to get sandwiched between those two plastic plates.
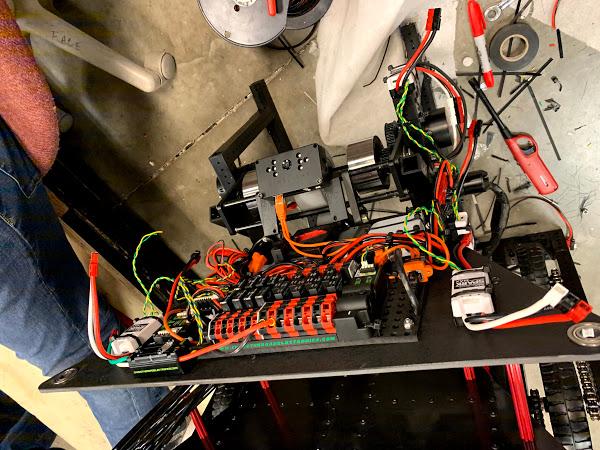
Electronics
Today, motor controllers for the various subsystems were installed onto the competition robot and connected to the PDP.
—

Quote of the day: “Don’t you love how my dad spends his days at work” — Josie Schmitt, former build captain, commenting on the strategy mentor’s live commentary on ISR #1.