Authors: Ritik Mishra, Andrew Georgioff
Parts (Again)
We received more parts from CEM today. These parts contained the comp bot drivetrain and some angled pieces. Sadly, all of the gussets that we had set aside at the beginning of the season for the drivetrain seem to have disappeared. Fortunately, we have some more coming in the mail, and we do not need the comp bot right now, so this was not an enormous problem. It is only a medium-sized problem.
We also
- Cut the hex stock received yesterday into hex shafts that will be used on the final robot
- Started making bootleg VersaRoller hubs for our bootleg VersaRollers
- VexPRO is all out of stock 🙁
Hopefully, if the belts decide to arrive in the mail, we should have our active intake completed soon.
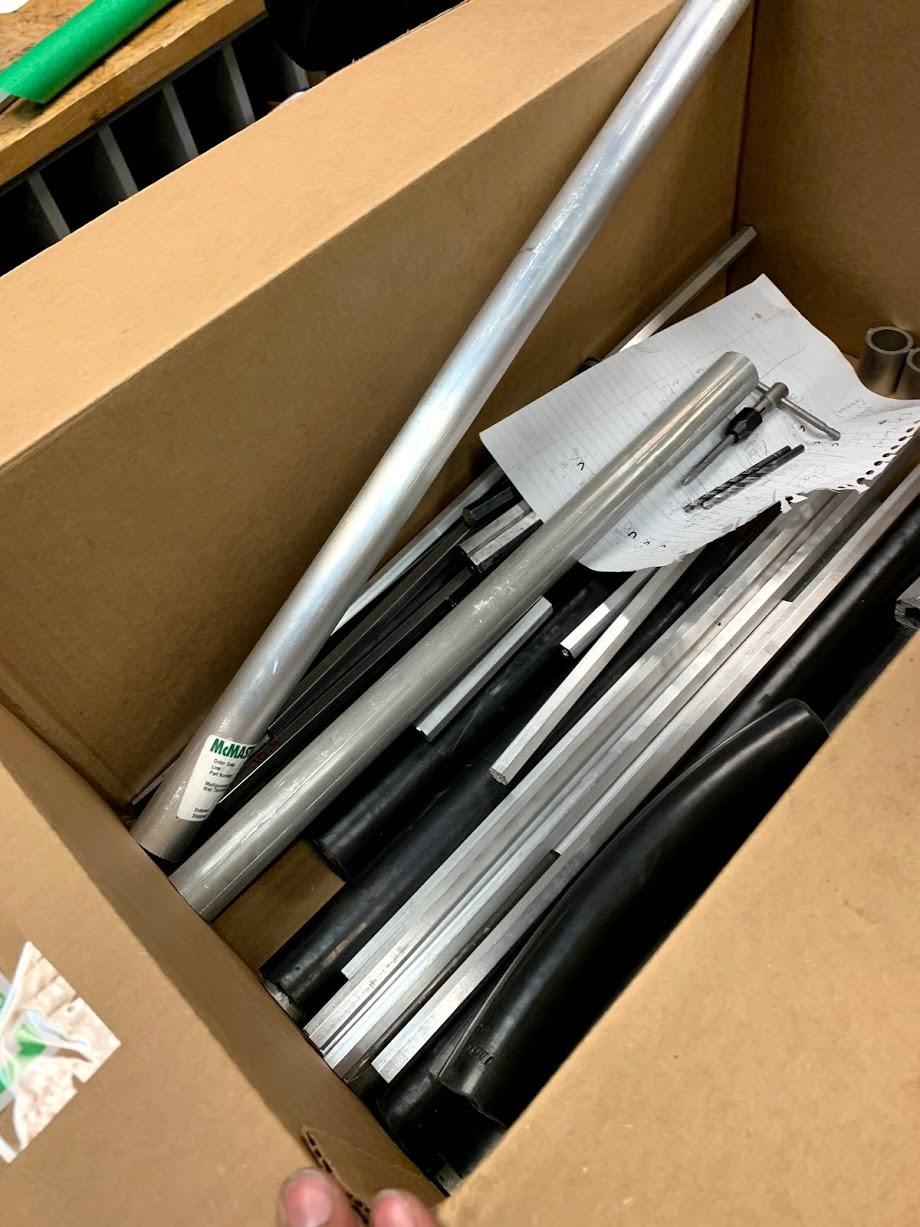
Above: A bunch of parts and stock that were cut today. The bulk of them are for the active intake and hopper.
Bootleg VersaRollers
Note: A VersaRoller is a product sold by VexPRO/WCP that is basically a tube (choice of aluminum or plastic) that are to be assembled with customized hex hubs (sold separately on Vex/WCP) and rubber tubes (must be sourced by end user). Vex is out of stock of all of them because so many teams are using them this year. We resorted to making them ourselves.
One of the things that we got back in the mail today was a 1.25” OD 1.12” ID aluminum tube (MCM P/N 9056K76). Soon after we opened the package, we started to float the 1.5” OD 1” ID latex tube (MCM P/N 5234k91) over the metal tube.
At a first glance, the measurements seem problematic. How does one get a 1” ID tube over a 1.25” OD tube?
The answer is compressed air, plumbers’ grease, and closed-cell foam. First, we took the compressed air nozzle and hose clamped the “scrap” end of the latex tubing over it in order to create an almost air-tight seal. Next, we blew air through the latex tubing to facilitate putting it over the metal tube. Once it was fully around the tube’s diameter (i.e once it was ready to be pulled down and slipped over the entire tube), we used plumbers’ grease to lubricate metal pipe. The compressed air helped to expand the inner diameter of the latex tubing, and the grease helped to reduce friction. This made it relatively easy to pull the latex over the metal. While pulling down on the latex, we put the end of the metal on some closed-cell foam we had laying around from a suction experiment in the offseason. This created an airtight seal, and ensured that the only place the compressed air could leak would be the seam between the latex tubing and the metal tubing, which is ideal.

For reference, the outer diameter of this assembly was measured to be 1.67”.
Reamer
Previously, we had been using a 1.125” step bit to drill out bearing holes in-house. Given the fact that
- The bearing’s “true” OD is 1.124”
- Drills have a tendency to drill oversize
- We do a bad job of drilling accurate holes because students are sloppy with workholding, speeds and feeds, etc
it is impossible for us to successfully drill a precise hole for a good bearing press fit. About a week ago, we ordered an adjustable hand reamer to (hopefully!) allow us to create the precise holes we need. Today, it arrived in the mail. We spent some time experimenting with it. Unfortunately, we do not have a tap wrench that is large enough to properly hold the reamer. Hopefully, we will be able to solve this problem. Tomorrow, we will spend some time adjusting the reamer to the correct size.
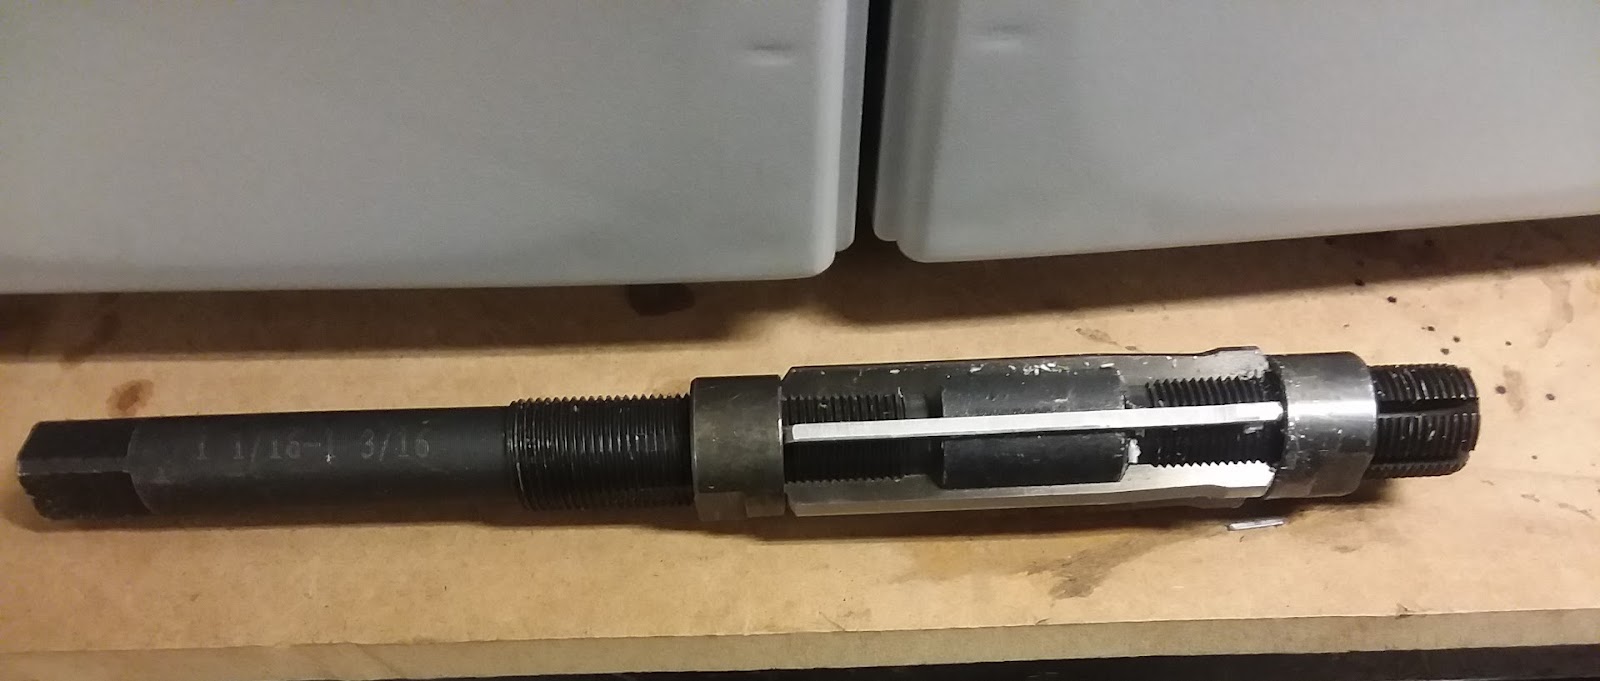
Above: The adjustable hand reamer.
Quote of the day: Honda Pilot? I thought that was a plane – Ishan Shetty, 2020 Media Lead